
So, you have your new lantern pattern (get it free here). Below, you can find step by step instructions on how to use it to make the lantern you see in the photo.
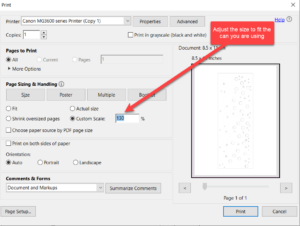
- Choose the can you want to use to make the lantern. I used a can 2.75 inches diameter. If your can is a different size, then you can adjust your printer setting to change the size of the pattern. Or you can trim away some of the edges to make it work.
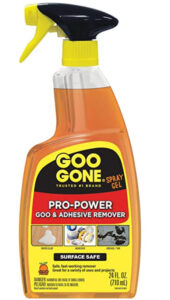
- Remove the label. I used to use finger nail polish remover, but have learned that Goo Gone is faster, cleaner and more efficient.
- Wash the can out thoroughly.
- Fill it to the brim with water.
- Put the can in your freezer and wait until the water has frozen solid. The ice supports the wall of the can while you’re working on it and will protect it from unwanted dents.
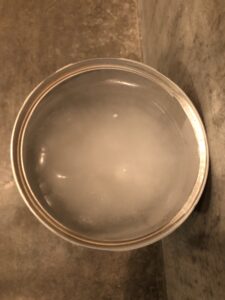
- After the water has completely frozen take the can out of the freezer and place it on your work surface.
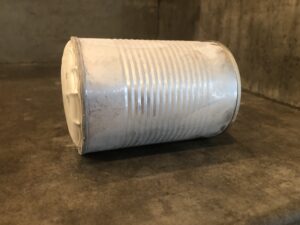
- Sometimes the bottom of the can will bulge with the ice but after you are done working on it you can tap it flat again with a hammer.
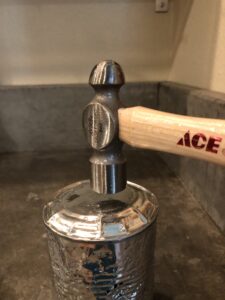
- Cut the pattern to size and tape it around the can. Painters tape holds the pattern to the can best.
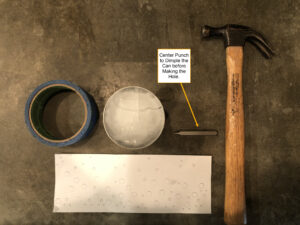
- Use a center punch to dimple the can before making each hole so the nail or drill bit won’t slide out of place.
- Use a drill or a hammer and nail to make the holes. Be sure to completely pierce the surface of the can.
- Keep an eye on the ice. If it melts too much the side of the can will dent as you work. You might have to put it back in the freezer multiple times before you finish a more complex design.
- I have had some success in removing dents by using an allen wrench to pull them out of the can.
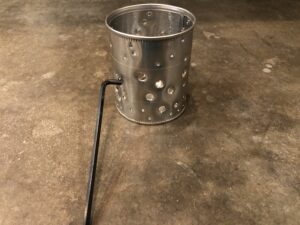
- If the holes have very rough edges, use a metal file to smooth them out.
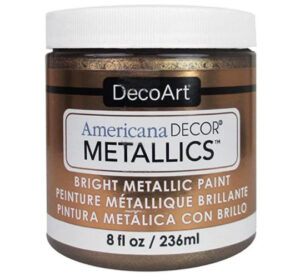
- For the last touch, paint the can. This will also protect it from rusting. I used Deco Art antique bronze paint.
Congratulations, you have a great looking lantern for your next gathering!